Key takeaways: Connecting Extend to QuickBooks Online
Integration setup takes just a few minutes when role and account requirements are met
Once connected, Extend automatically pulls in your existing QuickBooks expense codes
Teams can tag transactions using familiar accounting fields for faster, more consistent reconciliation
Setting up the integration only takes a few minutes. Before you connect Extend with QuickBooks Online, there are a few requirements that need to be met:
Requirements for Connection:
1. You must have a registered credit card account in Extend.
If you attempt the integration, but the organization has not yet registered any card accounts in Extend, a pop-up will display instructing you to first add a card account.
2. You must be an Owner or Admin in Extend.
Only Owner and Admin roles have permission to connect and manage an integration for the organization. Bookkeeper roles cannot manage the integration, but can sync transactions to Quickbooks Online. If you do not hold one of these roles, request a role assignment from your Owner or an Admin or they can complete the integration process.
3. You must have an active credit card account defined in QuickBooks Online.
If you have not yet defined any accounts in QuickBooks (type = ‘credit card’), you will need to create a credit card type account in QuickBooks Online before initiating the integration.
4. You must be a QuickBooks Online admin.
If you do not hold this role in QuickBooks Online, you will need to contact the QuickBooks admin for your company to initiate and complete the integration, as the process requires an admin login and authentication.
If you meet all of the above criteria, you’re ready to begin!
How it works
Log into the Extend web app and navigate to the Organization Settings page. Follow the on-screen prompts to complete the process. The prompts will guide you through logging into QuickBooks, authenticating the integration, then confirming the default credit card account Extend data will sync.
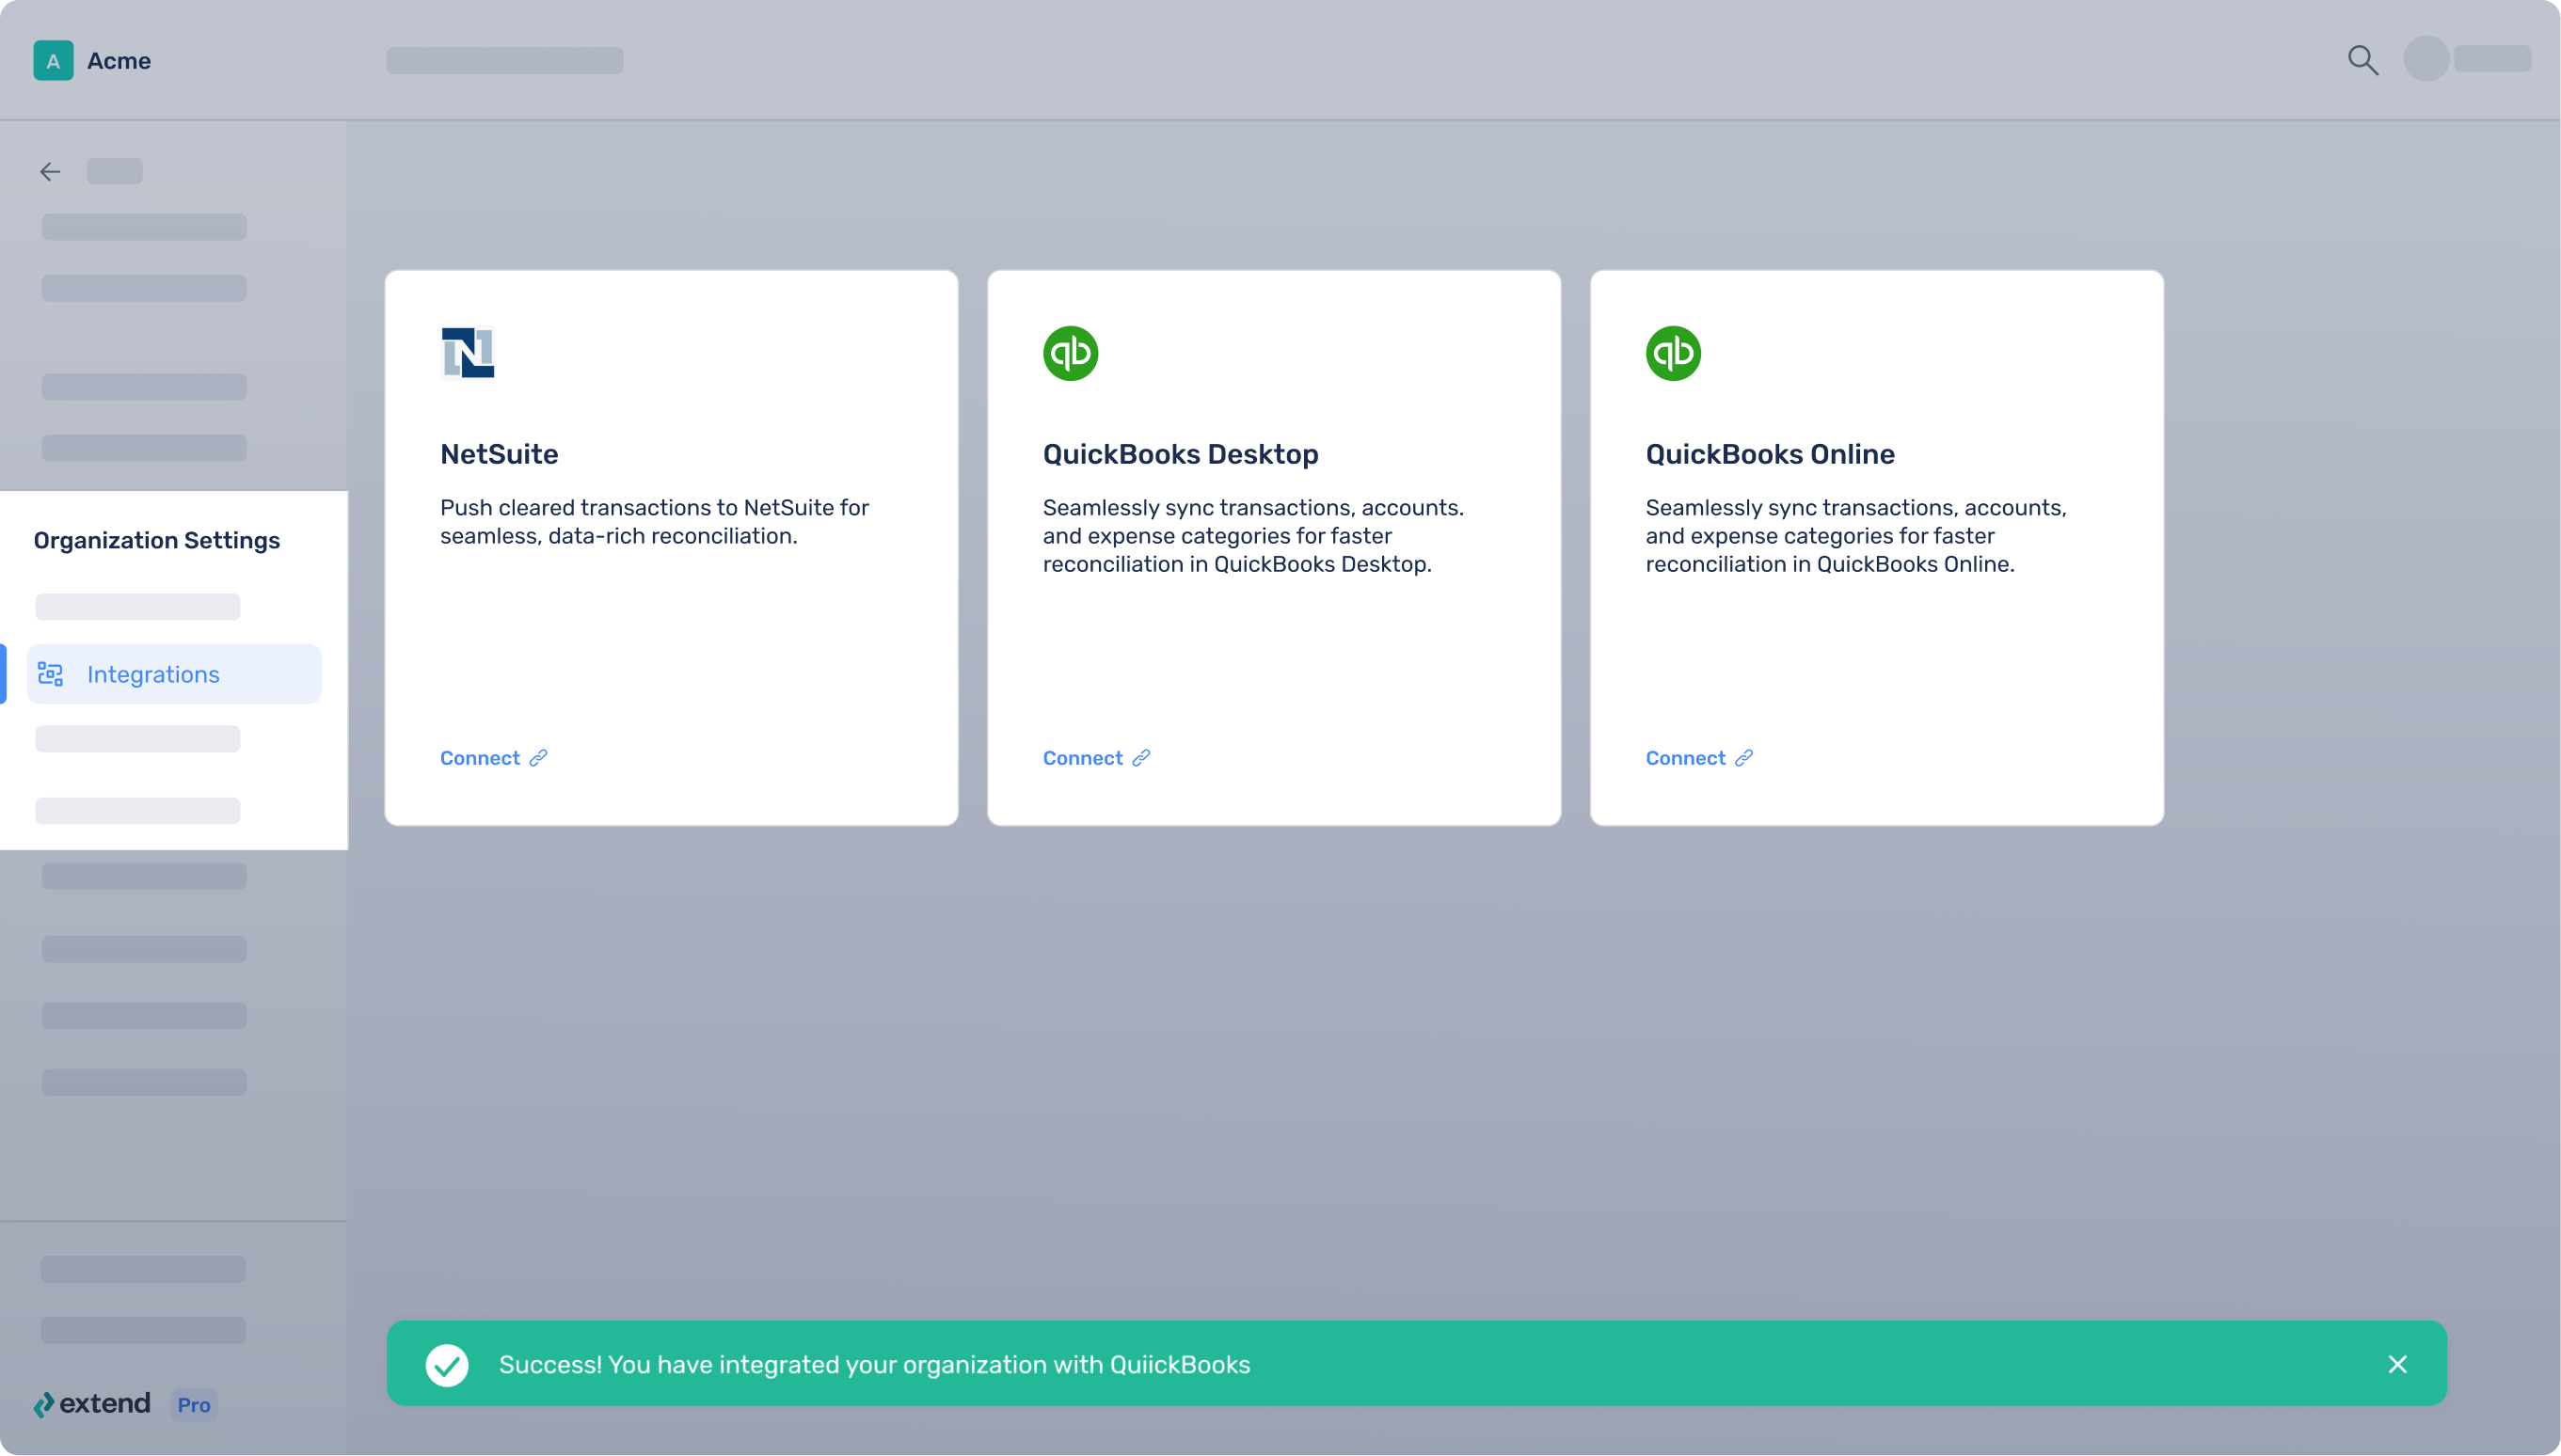
Click on the Integrations tab.
Select Connect on the QuickBooks Online tile.
Once you’ve successfully connected, a green banner will appear at the bottom of the screen, and the Quickbooks tile will indicate “Connected.”
The integration automatically pulls in your existing QuickBooks Online expense codes. Once connected, anyone in your organization can tag their card transactions with the expense codes you use in QuickBooks today—an excellent way to streamline the process!
The integration will sync the following QuickBooks expense code fields:
Accounts
Location
Customer / Project
Class
Vendor
Note: If your organization is already connected to another integration, other tiles on the Integrations tab will appear grayed out because you can only connect one integration at a time. Please disconnect before proceeding to connect with QuickBooks Online.
If at any time you wish to disable the QuickBooks Online integration online, simply click “Manage” on the QuickBooks tile and follow the on-screen instructions.


%201.png)


%201.png)
